
Configuring your mouse to use an auto clicker is a straightforward process that can significantly improve your efficiency for repetitive clicking tasks.
- Step 1: Download and install a trusted auto clicker that works with your device.
- Step 2: Set the basic options like click type, clicking speed, and how the clicks should repeat.
- Step 3: Choose a keyboard shortcut to start and stop the clicking.
- Step 4: Save your settings, then use the shortcut to turn auto clicking on or off whenever needed..
- Step 5: For gaming, set your mouse DPI between 800 and 1200 for better control.
Altenatively, you can use a gaming mouse like Logitech G502 and make your own clicking macros.
The above setup will handle most of your auto-clicking needs. However, if you want to be a bit specific regarding more advanced options or operating systems like Windows, MacBook, Chromebook then you can take a look at our guide.
How to Configure Your Mouse to Use AutoClicker?
Before configuring an auto clicker, you need to set up your system properly. Start by downloading and installing a reliable auto clicker program for your computer.
Most auto clicker applications work in similar ways.
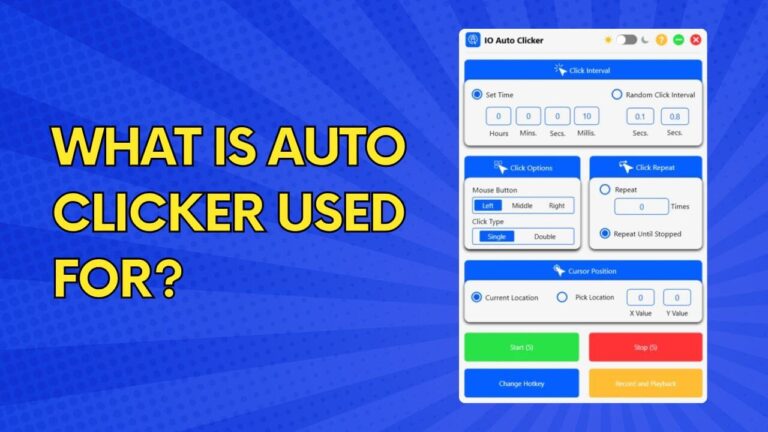
To help you understand the basic setup process, we’ll use IO Auto Clicker as our example throughout this guide.
1. Choosing the Right Mouse Button:
When it comes to auto-clicking, not all mouse buttons are created equal. Most auto clickers will allow you to choose between left, right, and middle clicks.
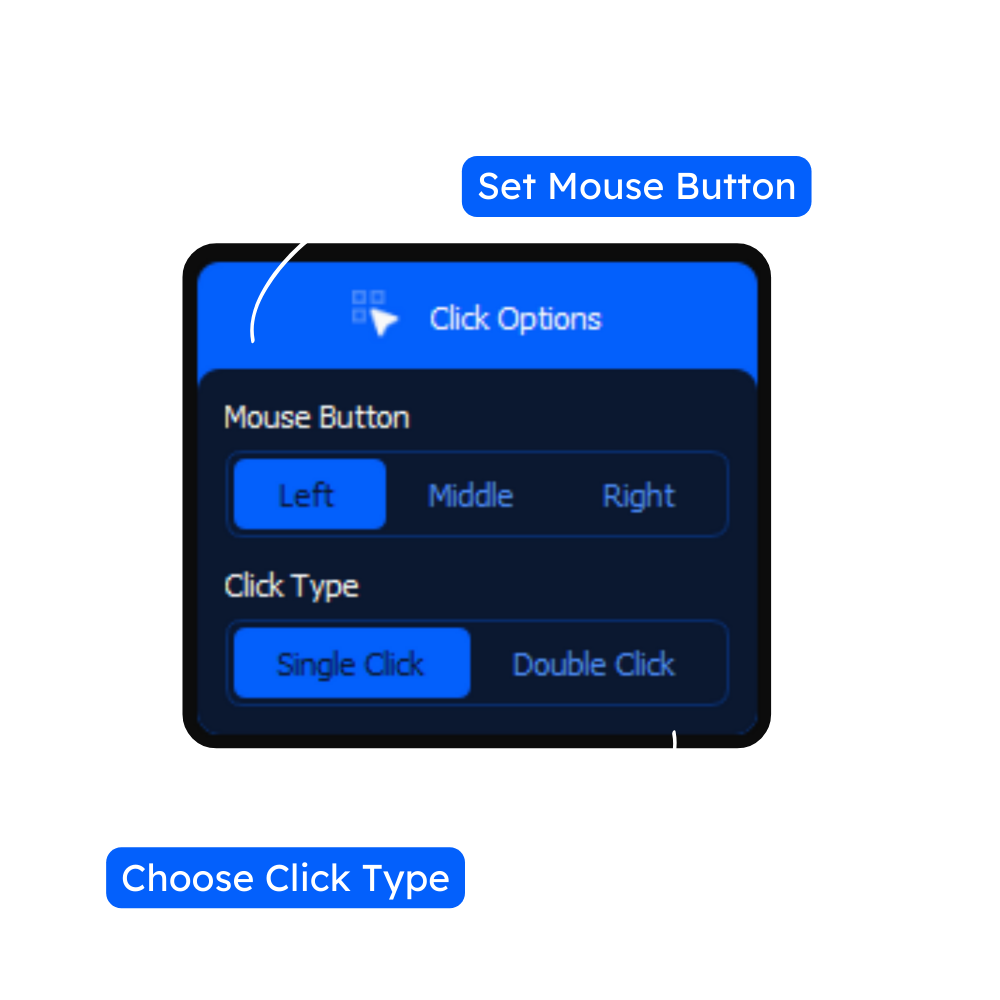
- When setting up your auto clicker for gaming, you’ll want to use the left mouse button most of the time. This is the button you already click with for almost everything in games .
- Sometimes you might need the right mouse button instead. This could be useful in games where you need to aim weapons, block attacks, or open special menus.
For example, if you’re playing a game where you need to hold right-click to aim and then left-click to shoot, you might set up an auto clicker for the right button.
- The middle mouse button (your scroll wheel button) is rarely needed for gaming. You’d only want to use this if your specific game has important actions mapped to the middle button, which isn’t very common.
Keeping gaming aside, there are some cases where you might want to use the right or middle mouse buttons.
For example, if you’re using an auto clicker for web browsing and need to open links in new tabs, setting the auto clicker to right-click can be a real-time save.
Similarly, if you’re working with a program that uses the middle mouse button for a specific function, an auto clicker can help automate that process.
2. Speed Configuration
When it comes to using an auto clicker, speed is key. But it’s not just about setting your clicker to the maximum speed and letting it rip.
Understanding Click Intervals:
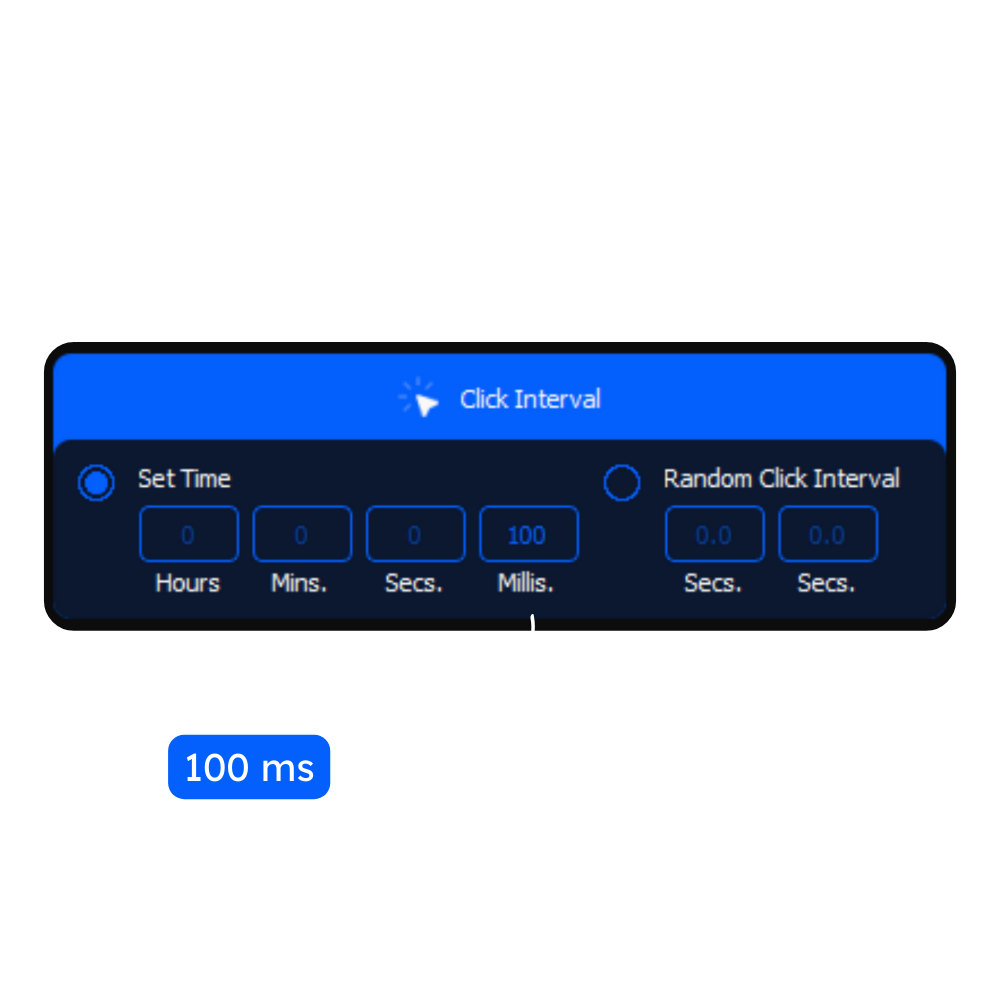
Click intervals refer to the time between each automated click. This is typically measured in milliseconds (ms).
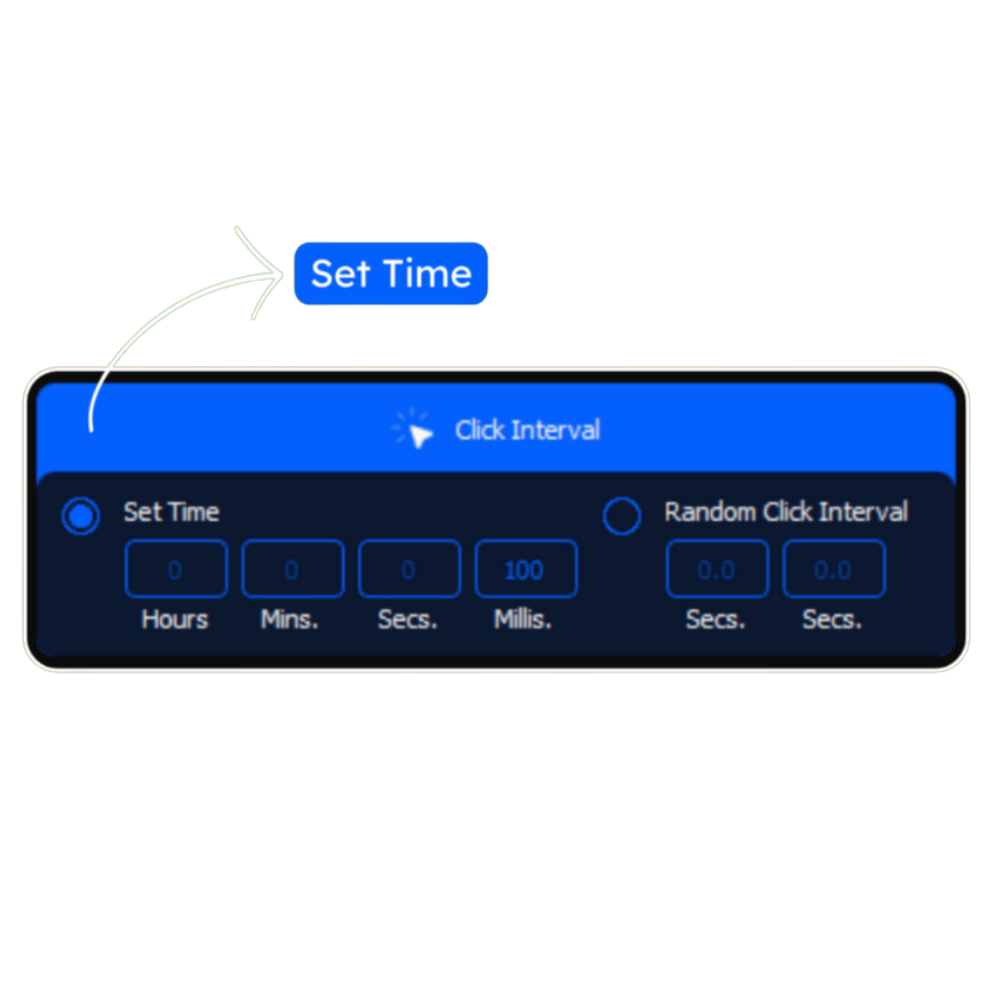
Most auto clickers will allow you to adjust this interval to suit your needs. For example, if you set your click interval to 100ms, your auto clicker will perform one click every tenth of a second.
For non-gaming applications, like automated data entry or web browsing, a slower click interval might be more appropriate.
This can help ensure accuracy and prevent the auto clicker from overwhelming the application or website you’re using.
Game-Specific Speed Settings:
If you’re using an auto clicker for gaming, it’s crucial to consider the specific requirements and limitations of the game you’re playing. Some games are more sensitive to automated clicking than others.
For example, many first-person shooter (FPS) games have built-in recoil mechanics that simulate the real-life behavior of a gun.
If you set your auto clicker to an extremely high speed, it may actually hinder your accuracy due to the increased recoil.
Testing and Fine-tuning:
Once you’ve set your initial click interval, it’s time to test it out. Start by using your auto clicker in a non-critical situation.
For gaming, this might mean testing it in a practice mode or on a non-competitive server. For other applications, you may want to create a test document or use a sandbox environment.
As you test, pay attention to how the auto clicker performs. Are the clicks registering accurately?
Is the speed appropriate for the task at hand? If you’re gaming, is the auto clicker enhancing your performance or hindering it?
Based on your testing, you may need to fine-tune your click interval. This is an iterative process. Make small adjustments, test again, and repeat until you find the optimal setting for your needs.
3. Setup Advanced Settings
Once you’ve mastered the basics of your auto clicker, it’s time to explore some of the more advanced settings.
These can help you customize your auto-clicking experience and take your automation to the next level.
Click Patterns:
Most basic auto clickers simply perform a series of single clicks at a set interval. However, advanced auto clickers often offer the ability to create click patterns.
This means you can set up your auto clicker to perform a specific sequence of clicks, such as a double-click followed by a pause, then another single click.
Mouse Movement Integration:
By default, most auto clickers will perform clicks at a fixed position on your screen. However, some advanced auto clickers offer mouse movement integration.
This means the auto clicker can move your mouse cursor to specific positions before performing a click.
This can be handy for automating tasks that require clicks in multiple locations, such as checking boxes or filling out forms. It can also be used in gaming to perform more complex actions, like aiming and shooting in an FPS game.
Custom Macros:
For the ultimate in auto clicking customization, look for an auto clicker that supports custom macros.
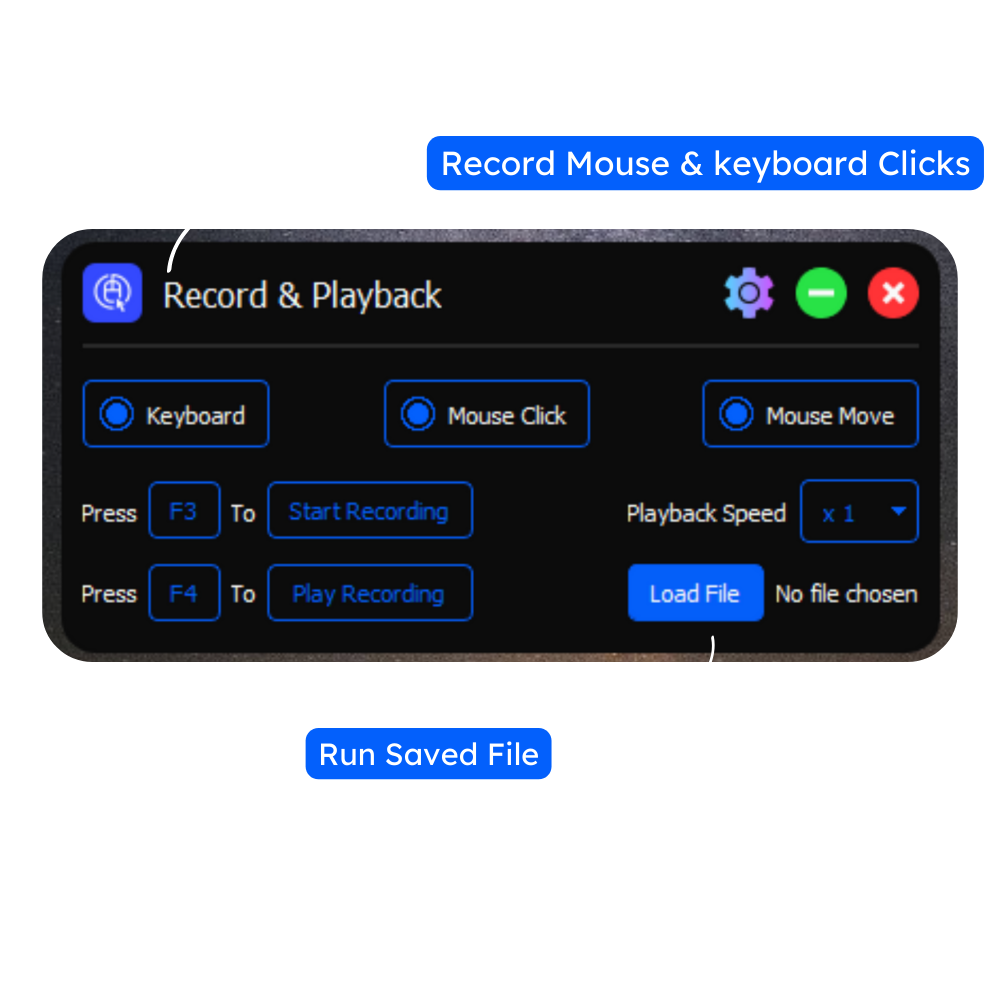
Macros allow you to record and save complex sequences of clicks, mouse movements, and even keyboard inputs.
For example, you could create a macro that moves your mouse to a specific position, performs a double-click, then types a predetermined string of text. This can be incredibly powerful for automating repetitive tasks, especially in work environments.
Mouse DPI Settings That Work Best with Auto Clickers
Your mouse DPI (dots per inch) actually matters a lot when using such automation tools. If you’ve never adjusted your DPI before, it controls how sensitive your mouse is.
For auto clickers, a medium DPI setting (around 800-1200) usually works best. If your DPI is too high, the auto clicker might not click exactly where you want it to.
If it’s too low, your cursor movement might be too sluggish for games that need quick reflexes between automated clicking.
Most gaming mice have a DPI button that lets you cycle through different settings. If you’re using the auto clicker for precise clicking (like cookie clickers or idle games), a lower DPI gives you more control for setting up exact click locations.
For faster-paced games where you need to move quickly between automated clicking, a slightly higher DPI works better.
Troubleshooting Common Mouse Configuration Issues
No Clicking Action: Auto clickers can sometimes malfunction due to simple configuration problems. First, verify you’ve selected the correct mouse button in your settings. Many users accidentally set the wrong button (right instead of left, for example). Also check that your hotkeys aren’t being blocked by your game or another program running in the background.
Incorrect Click Location: Clicks landing in the wrong locations usually happen because of screen resolution issues. Auto clickers typically use absolute screen coordinates, so if you change your display settings or switch between fullscreen and windowed mode, your click positions will shift. Always reconfigure your click locations after making any display changes.
Speed Issue: Improper click speed settings can cause various problems. If clicks are too rapid, games might detect you as a bot and issue warnings or bans. If clicks are too slow, you won’t get the efficiency you’re looking for. Start with moderate speeds around 50-100ms between clicks, which appear more natural to game detection systems.
Random stopping issues typically occur when games take focus away from your cursor during cutscenes or menu transitions. To prevent this, use an auto clicker with background operation capabilities or one that features a persistent clicking mode that continues regardless of window focus changes.
Permission Error: Permission problems can block auto clickers from functioning correctly. Running your auto clicker software as administrator often resolves these issues by giving the program the necessary permissions to control your mouse inputs at a system level.
Driver conflicts sometimes occur with gaming mice that use specialized software. If your auto clicker behaves erratically, try temporarily disabling your mouse’s custom software to see if the conflict resolves. You can then determine which features can coexist.
Safety and Compatibility While Using Auto Clicker
When using an auto clicker, it’s crucial to prioritize safety and ensure compatibility to avoid potential issues. Here are the key considerations:
Game Rules and Restrictions:
- Read and understand the game’s rules and terms of service
- Many competitive online games prohibit the use of auto-clickers
- Using an auto clicker when prohibited can lead to account bans or legal consequences
- Even in single-player games, auto-clickers may be considered cheating.
To use an auto clicker safely and responsibly:
- Understand and respect game rules
- Be aware of anti-cheat measures
- Monitor system performance
- Use auto clickers judiciously to maintain the enjoyment of gaming

I love playing incremental games and creating tools & software. Connecting both my passions, I wrote down the code for Auto clicker and published it for free for you all on wordpress-880390-5387831.cloudwaysapps.com, feel free to reach out to me on hey@wordpress-880390-5387831.cloudwaysapps.com to suggest new features and suggestions.